Homemade Peanut Butter Cups with Rice Crisps
Highlighted under: Basic Kitchen
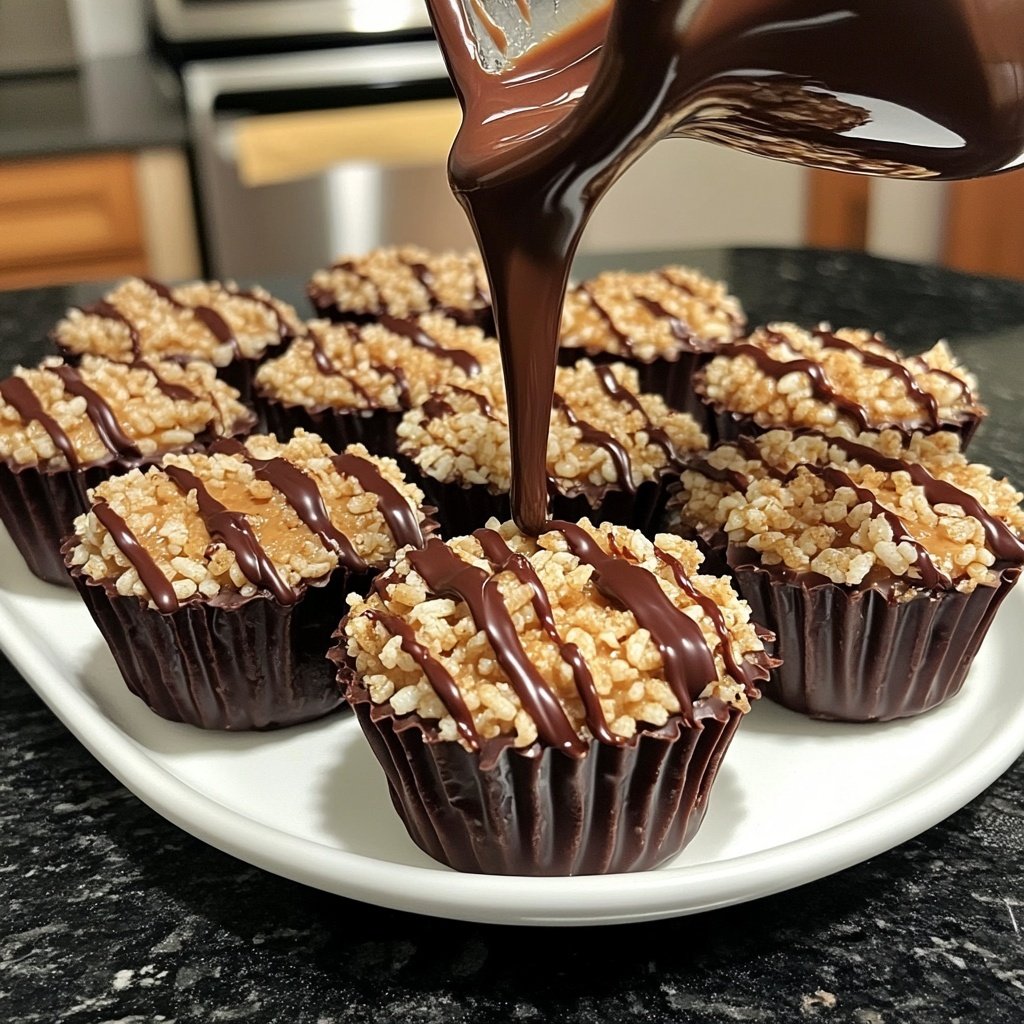
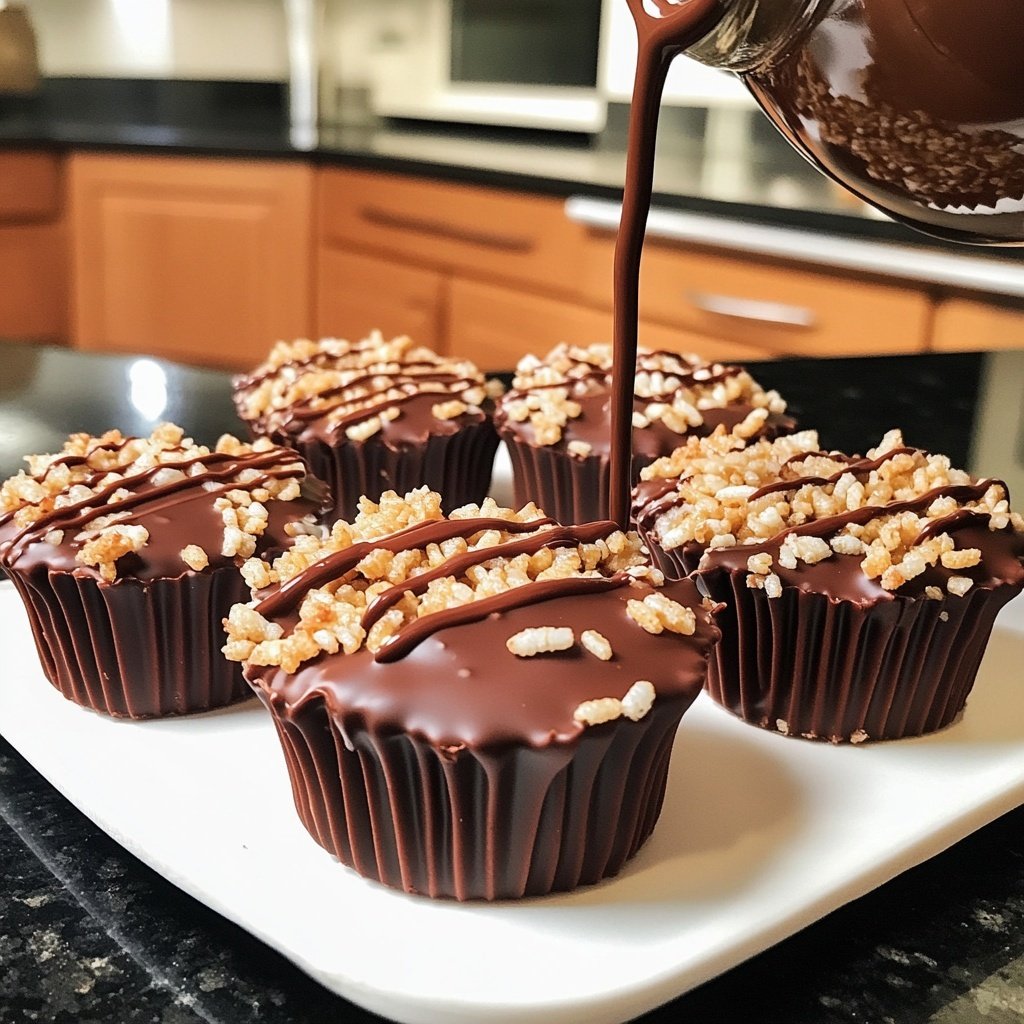
I absolutely love making these Homemade Peanut Butter Cups with Rice Crisps! The combination of creamy peanut butter, crunchy rice crisps, and rich chocolate creates an indulgent treat that’s hard to resist. Each bite delivers a satisfying crunch alongside that classic sweet and salty flavor we all adore. They’re simple to make and perfect for sharing with friends and family—or keeping all to myself! The best part? I can customize them with my favorite toppings or flavors. You’ve got to give these a try!
I recall the day I decided to put my own spin on classic peanut butter cups. I wanted to elevate the texture while keeping the beloved flavors intact. By adding rice crisps, I achieved that perfect balance of creaminess and crunch. I also discovered that melting the chocolate with a touch of coconut oil helps it coat better and gives a lovely sheen, making these cups even more appealing.
While experimenting, I found that ensuring the peanut butter mixture is at a cooler temperature before pouring chocolate on top helps prevent the layers from blending together. This technique is crucial for a distinct layer effect, which visually entices anyone who digs in!
Why You Will Love This Recipe
- Rich chocolate enveloping a creamy, nutty center
- Crunchy rice crisps add an unexpected twist
- Easily customizable for various flavors and toppings
Perfecting the Peanut Butter Filling
The key to a luscious peanut butter filling lies in the balance of ingredients. Start with high-quality creamy peanut butter, as it will ensure a smooth texture. When mixing in powdered sugar, do so gradually, tasting as you go to achieve your desired sweetness. The inclusion of rice crisps not only adds crunch but also helps in achieving the right consistency, making it easier to scoop and shape the mixture into cups.
If you prefer a more intense peanut butter flavor, consider using crunchy peanut butter instead. This substitution will give your cups an added texture and depth of flavor. Additionally, for a touch of salty contrast, a sprinkle of sea salt can be folded into the peanut butter mixture, amplifying that sweet-savory combo we all crave.
Mastering the Chocolate Coating
When melting chocolate for the coating, it’s crucial to do so gently to prevent burning. Using a microwave in 30-second intervals allows better control over the heat. Stirring the chocolate gives you visual cues; look for a glossy finish and smooth texture, indicating it’s ready. If your chocolate seizes or becomes grainy, you can usually rescue it by adding a teaspoon of coconut oil and gently reheating until melted again.
I often add a pinch of sea salt to the melted chocolate, which enhances the sweetness and complements the peanut butter filling beautifully. For those looking to reduce sugar, consider using sugar-free chocolate chips; they will coat the cups just as well while keeping the treat lower in calories. Be aware, however, that the texture may change slightly.
Ingredients
Gather these simple ingredients to make your delicious peanut butter cups!
For the Peanut Butter Filling
- 1 cup creamy peanut butter
- 1/2 cup powdered sugar
- 1 cup rice crisps
For the Chocolate Coating
- 1 cup dark chocolate chips
- 1 tablespoon coconut oil
These ingredients come together to create a mouthwatering treat!
Instructions
Follow these easy steps to create your homemade peanut butter cups!
Prepare the Peanut Butter Mixture
In a mixing bowl, combine the creamy peanut butter and powdered sugar until smooth. Gently fold in the rice crisps until evenly coated.
Melt the Chocolate
In a microwave-safe bowl, combine the dark chocolate chips and coconut oil. Heat in 30-second intervals, stirring in between, until fully melted and smooth.
Assemble the Cups
Line a muffin tin with paper liners. Pour a small amount of melted chocolate into each liner and spread to coat the bottom. Then add a spoonful of the peanut butter mixture on top, followed by another layer of melted chocolate to cover.
Chill and Set
Place the muffin tin in the refrigerator for at least 15 minutes or until the chocolate has completely set.
Once set, enjoy your delicious homemade peanut butter cups!
Pro Tips
- For a twist, try adding a sprinkle of sea salt on top before refrigerating or incorporate different types of nut butter for varied flavors.
Storage and Make-Ahead Tips
These peanut butter cups can be made in advance, making them perfect for gatherings or as a sweet treat throughout the week. Once set, store them in an airtight container in the refrigerator, where they will stay fresh for up to two weeks. If you want to keep them for a longer period, you can also freeze them. Just layer them between parchment paper and place in a freezer-safe bag; they can last up to three months.
When you're ready to enjoy, you can thaw them in the fridge for a few hours, or leave them out at room temperature for about 20 minutes before serving. This way, the chocolate will soften slightly, giving you that perfect melt-in-your-mouth texture.
Flavor Variations and Customizations
The beauty of these peanut butter cups is their versatility. Feel free to experiment with different nut butters; almond butter or cashew butter offer a delicious twist. You can also try adding flavor extracts, like vanilla or almond, to the peanut butter filling for added depth. For a spicier kick, consider mixing in a dash of cinnamon or a hint of chili powder to the mixture as well.
Topping your cups is also a fun way to customize them. After adding the last layer of chocolate, you can sprinkle them with crushed nuts, coconut flakes, or even a drizzle of caramel for an extra special treat. Just be mindful of how toppings may affect the storage; some might not hold up as well over time, particularly if they add moisture.
Questions About Recipes
→ Can I use milk chocolate instead of dark chocolate?
Yes, you can, but keep in mind that it may add more sweetness to the cups.
→ How should I store the leftover peanut butter cups?
Store them in an airtight container in the refrigerator for up to one week.
→ Can I substitute rice crisps with something else?
Absolutely! You can use crushed pretzels or any puffed cereal for a different crunch.
→ Is it possible to make these vegan?
Yes! Use vegan chocolate chips and ensure your peanut butter is free of added ingredients.
Homemade Peanut Butter Cups with Rice Crisps
What You'll Need
For the Peanut Butter Filling
- 1 cup creamy peanut butter
- 1/2 cup powdered sugar
- 1 cup rice crisps
For the Chocolate Coating
- 1 cup dark chocolate chips
- 1 tablespoon coconut oil
How-To Steps
In a mixing bowl, combine the creamy peanut butter and powdered sugar until smooth. Gently fold in the rice crisps until evenly coated.
In a microwave-safe bowl, combine the dark chocolate chips and coconut oil. Heat in 30-second intervals, stirring in between, until fully melted and smooth.
Line a muffin tin with paper liners. Pour a small amount of melted chocolate into each liner and spread to coat the bottom. Then add a spoonful of the peanut butter mixture on top, followed by another layer of melted chocolate to cover.
Place the muffin tin in the refrigerator for at least 15 minutes or until the chocolate has completely set.
Extra Tips
- For a twist, try adding a sprinkle of sea salt on top before refrigerating or incorporate different types of nut butter for varied flavors.
Nutritional Breakdown (Per Serving)
- Calories: 200 kcal
- Total Fat: 14g
- Saturated Fat: 4g
- Cholesterol: 0mg
- Sodium: 110mg
- Total Carbohydrates: 20g
- Dietary Fiber: 1g
- Sugars: 10g
- Protein: 5g