Chocolate Marble Snack Cake
Highlighted under: Basic Kitchen
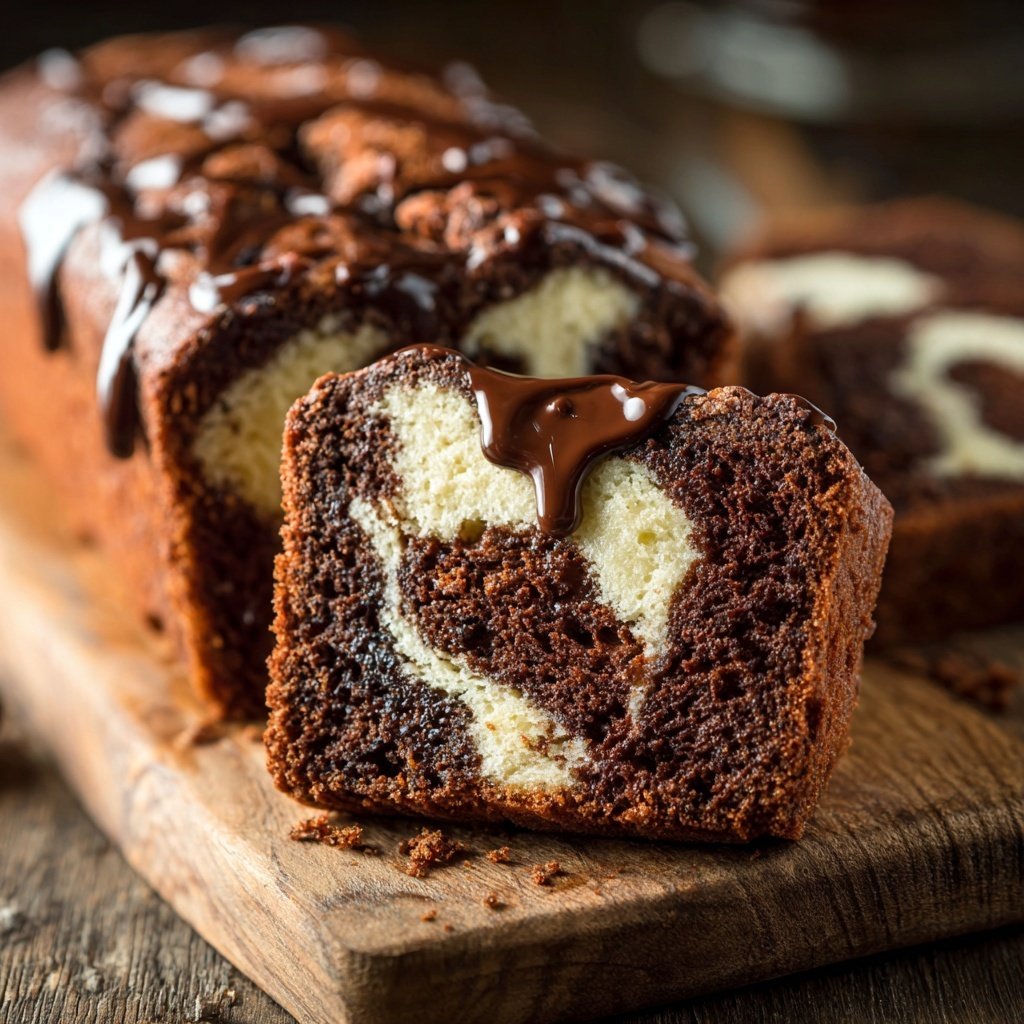
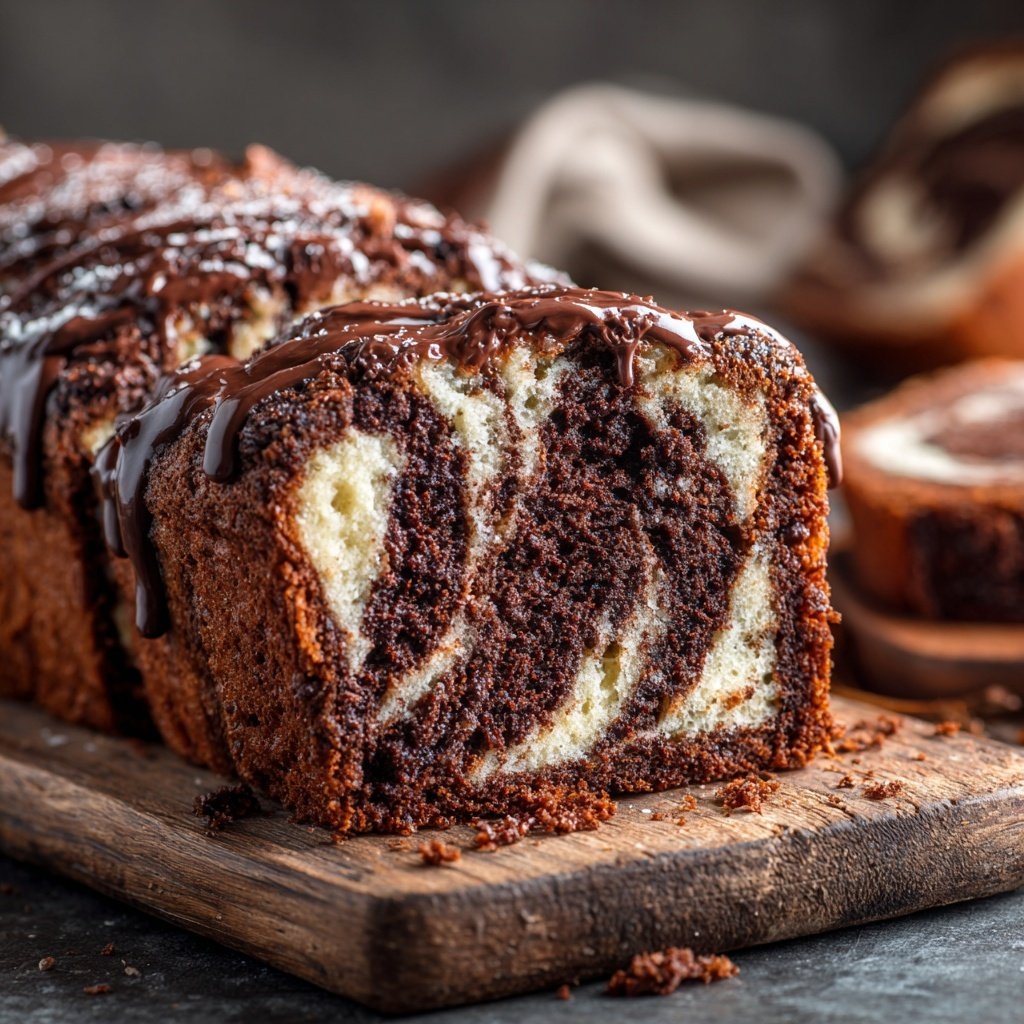
I love the way this Chocolate Marble Snack Cake brings a double dose of flavor to my snack time. The rich chocolate intertwines perfectly with the vanilla batter, creating a stunning visual and deliciously contrasting taste. Whenever I make this cake, I can already picture my friends and family enjoying the moist, tender slices with their coffee or tea. The best part? It’s a straightforward recipe that hides a bit of culinary magic, as the marbling technique makes it look intricate without the fuss!
When I first tried making a marble cake, I was hesitant about creating that perfect swirl. Each time I poured the chocolate and vanilla batters, I worried about ruining the stripes. But then I discovered that a gentle twist with a knife creates marvelous, unexpected patterns! It turned baking into an adventurous experience that added both flavor and fun to our dessert table.
One of the secrets I've learned is to not overmix when combining the batters. If you swirl too many times, you lose the distinct layers, and the cake ends up looking more like a brown blob. With just a few swirls, you achieve a beautiful marbled effect that's sure to impress anyone who walks into the kitchen!
Why You'll Love This Cake
- Rich chocolate flavor paired with creamy vanilla
- Stunning marbled appearance that delights the eyes
- Perfectly moist texture that stays fresh for days
Mastering the Marbling Technique
Marbling is not just a decorative touch; it plays a significant role in the cake's texture and flavor distribution. By swirling the chocolate and vanilla batters together, you allow the rich chocolate flavor to meld with the creamy vanilla, creating an enticing visual and taste experience with every bite. To achieve a good marbled effect, use a knife or a skewer to gently move through the batters, but be careful not to overmix, or you’ll lose that beautiful contrast.
When layering the batters in the cake pan, make sure to alternate spoonfuls evenly to ensure that each slice has a balance of chocolate and vanilla flavors. This will also contribute to the overall moistness of the cake. If you prefer a more pronounced chocolate flavor, you can increase the cocoa powder by a tablespoon without compromising the cake's structure.
Ingredient Insights
The combination of buttermilk and baking soda in this recipe is key to achieving a tender crumb. The acidity of the buttermilk reacts with the baking soda, producing carbon dioxide bubbles that help the cake rise. If you don't have buttermilk on hand, you can easily make a substitute by mixing one cup of milk with one tablespoon of white vinegar or lemon juice. Let it sit for about 5-10 minutes before using it in the recipe.
Using unsalted butter allows you to control the amount of salt in your cake. When baking, the quality of your ingredients matters significantly. Opt for high-quality cocoa powder, as it greatly enhances the chocolate flavor and richness of the cake. Dutch-processed cocoa can be used for a smoother, less acidic flavor profile, while natural cocoa powder will give a more pronounced cocoa taste.
Storage and Serving Suggestions
Once baked, allow the cake to cool completely on a wire rack before storing. This cake stays moist for several days when stored in an airtight container at room temperature. You can also freeze the cake for longer storage. Wrap it tightly in plastic wrap and then in aluminum foil. It can be frozen for up to three months; just thaw it in the fridge overnight before serving.
This Chocolate Marble Snack Cake pairs wonderfully with coffee or tea, making it a great addition to brunch or an afternoon snack. For a decadent touch, consider serving it with a dollop of whipped cream or a scoop of vanilla ice cream when warmed slightly in the microwave. You can also dust it with powdered sugar or drizzle with chocolate ganache to elevate the dessert.
Ingredients
For this delightful Chocolate Marble Snack Cake, gather the following ingredients:
For the Cake
- 1 ½ cups all-purpose flour
- 1 cup granulated sugar
- ½ cup unsalted butter, softened
- 2 large eggs
- ½ cup buttermilk
- 1 teaspoon vanilla extract
- 2 tablespoons unsweetened cocoa powder
- 1 teaspoon baking powder
- ½ teaspoon baking soda
- ¼ teaspoon salt
Make sure to have all your ingredients measured and ready to go!
Instructions
Here’s how to create your marbled masterpiece:
Preheat the Oven
Preheat your oven to 350°F (175°C) and grease a 9-inch round cake pan.
Mix the Dry Ingredients
In a bowl, whisk together the flour, baking powder, baking soda, and salt. Set aside.
Cream Butter and Sugar
In a separate bowl, beat the softened butter and sugar until light and fluffy. Add the eggs one at a time, mixing well after each addition.
Combine Wet and Dry Ingredients
Add the flour mixture and buttermilk to the butter mixture in three parts, starting and ending with the dry ingredients. Stir in vanilla extract.
Prepare the Chocolate Batter
Take out half of the batter and mix it with the cocoa powder until combined.
Layer the Batters
Spoon alternating dollops of the vanilla and chocolate batters into the prepared pan. Use a knife to swirl them together gently.
Bake the Cake
Bake for 30 minutes or until a toothpick inserted into the center comes out clean. Let it cool in the pan for 10 minutes before transferring to a wire rack.
Once cooled, slice and enjoy your beautiful Chocolate Marble Snack Cake!
Pro Tips
- For an extra touch, dust the cooled cake with powdered sugar or top it with whipped cream and berries.
Troubleshooting Common Issues
If your cake dome rises too high and then collapses, it might be due to overmixing the batter, which can lead to additional air incorporation. Always mix the ingredients until just combined to avoid this. If this does happen, a simple solution is to make a trifle with layers of cake, whipped cream, and fruit to salvage the appearance and taste.
Another issue might be uneven baking. To ensure that your cake bakes evenly, rotate the pan halfway through baking. This is crucial if your oven has hot spots, which can lead to parts of the cake being overcooked while others remain underbaked. A toothpick test is your best friend here; it should come out clean from the center when perfectly baked.
Scaling the Recipe
If you'd like to make a larger batch of this marvelous cake for a gathering, scaling the recipe is straightforward. Simply double the ingredients for a 9x13 inch pan, ensuring to adjust the baking time accordingly. Start checking for doneness a few minutes earlier than you think, as larger cakes can take longer to cook through the center.
Conversely, if you're looking to bake a smaller portion, this recipe can be halved and baked in a 6-inch round cake pan. Keep an eye on the baking time, as smaller cakes tend to bake faster; start checking at around 20 minutes. Adjusting time and temperature is all about keeping your cakes moist and delicious!
Questions About Recipes
→ Can I use another type of flour?
Yes, you can substitute all-purpose flour with gluten-free flour. Adjust baking times as needed.
→ What if I don’t have buttermilk?
You can make your own buttermilk by mixing 1/2 cup of milk with 1/2 tablespoon of vinegar or lemon juice. Let it sit for about 5 minutes.
→ How should I store the cake?
Store the cake in an airtight container at room temperature for up to 4 days, or refrigerate for up to a week.
→ Can I freeze this cake?
Absolutely! You can freeze the slices for up to 3 months. Wrap them tightly in plastic wrap and then foil.
Chocolate Marble Snack Cake
Created by: Gemma Hollis
Recipe Type: Basic Kitchen
Skill Level: Beginner
Final Quantity: 8 servings
What You'll Need
For the Cake
- 1 ½ cups all-purpose flour
- 1 cup granulated sugar
- ½ cup unsalted butter, softened
- 2 large eggs
- ½ cup buttermilk
- 1 teaspoon vanilla extract
- 2 tablespoons unsweetened cocoa powder
- 1 teaspoon baking powder
- ½ teaspoon baking soda
- ¼ teaspoon salt
How-To Steps
Preheat your oven to 350°F (175°C) and grease a 9-inch round cake pan.
In a bowl, whisk together the flour, baking powder, baking soda, and salt. Set aside.
In a separate bowl, beat the softened butter and sugar until light and fluffy. Add the eggs one at a time, mixing well after each addition.
Add the flour mixture and buttermilk to the butter mixture in three parts, starting and ending with the dry ingredients. Stir in vanilla extract.
Take out half of the batter and mix it with the cocoa powder until combined.
Spoon alternating dollops of the vanilla and chocolate batters into the prepared pan. Use a knife to swirl them together gently.
Bake for 30 minutes or until a toothpick inserted into the center comes out clean. Let it cool in the pan for 10 minutes before transferring to a wire rack.
Extra Tips
- For an extra touch, dust the cooled cake with powdered sugar or top it with whipped cream and berries.
Nutritional Breakdown (Per Serving)
- Calories: 280 kcal
- Total Fat: 16g
- Saturated Fat: 10g
- Cholesterol: 55mg
- Sodium: 180mg
- Total Carbohydrates: 32g
- Dietary Fiber: 1g
- Sugars: 18g
- Protein: 3g