Classic Red Candy Apples
Highlighted under: Family Kitchen
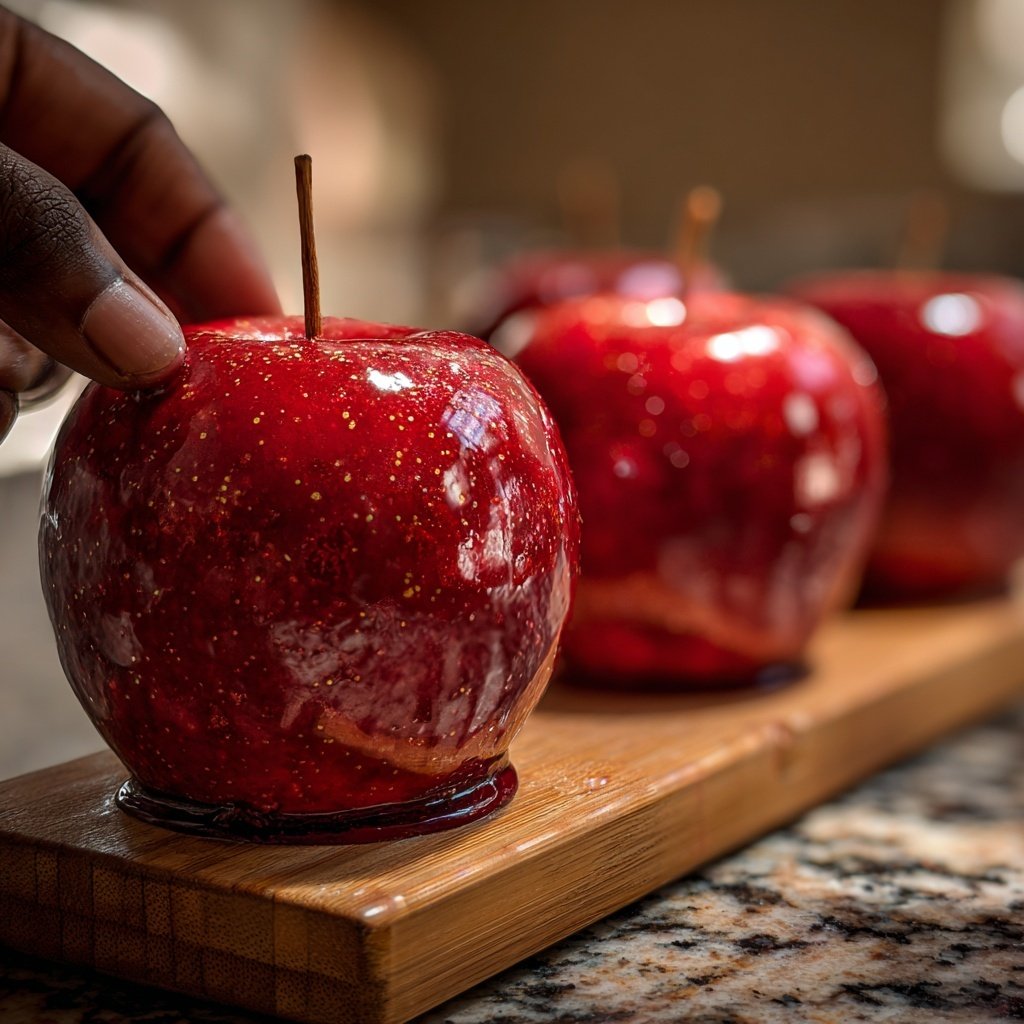
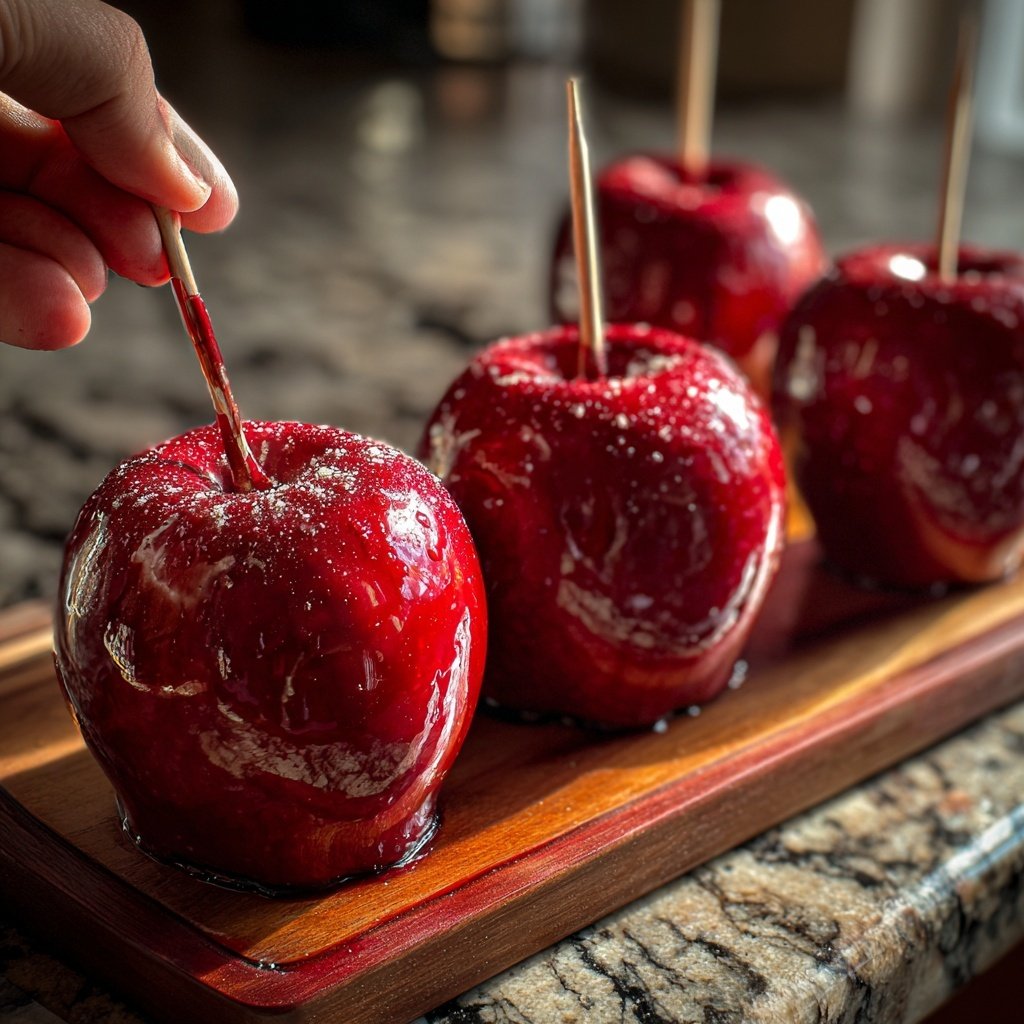
I absolutely love making Classic Red Candy Apples, especially during the fall season! The thrill of dipping crisp apples in a glossy, sweet candy coating is both nostalgic and satisfying. Each bite delivers a delightful crunch followed by a burst of fruity flavor, all enveloped in that irresistible candy shell. I usually make these with my kids, and we enjoy personalizing them with different toppings like crushed nuts or sprinkles. It’s a fun treat that never goes out of style, perfect for parties or just a sweet snack!
Making Classic Red Candy Apples is a cherished tradition in my family. I remember the first time I tried this recipe, and the joy of seeing those shiny apples cooling on the counter was unforgettable. The technique we use is all about controlling the temperature of the sugar syrup, so I always make sure my candy thermometer is calibrated correctly. This ensures that the candy coating doesn’t just melt away, but forms that perfect hard shell!
As I experimented with different variations, I learned that using a good, tart apple like Granny Smith adds a wonderful contrast to the sweetness of the candy. I also discovered that letting the apples cool completely before serving gives the candy time to set up, resulting in a much better bite. It’s these little details that turn a simple treat into something really special!
Why You Will Love This Recipe
- The nostalgic flavor that brings back childhood memories
- A fun, hands-on activity that's perfect for family bonding
- A beautiful, eye-catching treat that’s perfect for parties
Choosing the Right Apples
The choice of apples significantly influences the flavor and texture of your candy apples. Firm varieties like Granny Smith are ideal because they provide a perfect crunch that contrasts beautifully with the soft, sweet candy coating. Moreover, their tartness balances the sweetness of the candy, making each bite more enjoyable. If you prefer a different flavor profile, feel free to experiment with Honeycrisp or Fuji apples, which lend a sweeter taste and juiciness.
Before dipping, ensure your apples are at room temperature. Cold apples can cause the candy to harden too quickly and not adhere properly. If you're using waxed apples, it's advisable to soak them in warm water for a few minutes to remove any wax. This process helps the candy coating stick better, ensuring a smooth and glossy finish.
Mastering the Candy Coating
For a successful candy coating, it's crucial to monitor the mixture closely. When heating the sugar, corn syrup, and water, stir just until the sugar dissolves; avoid stirring after this point to prevent crystallization. Once the mixture reaches a rolling boil, you should use a candy thermometer to track the temperature closely. At 300°F, the candy will reach the hard-crack stage, which is essential for creating a well-formed shell around the apples.
After adding the food coloring, stir gently just to combine, as excess agitation can cause it to crystalize. If you find your mixture begins to harden before you can dip the apples, simply return it to low heat while stirring until it becomes workable again. Timing is crucial—be ready to dip the apples as soon as the mixture is at the right temperature.
Decorating and Serving Ideas
Once your apples have cooled and the candy coating has hardened, the fun doesn’t have to stop there! You can elevate the presentation by rolling them in crushed nuts, sprinkles, or even adding festive edible glitter. This not only enhances the visual appeal but also adds a delightful crunch or extra sweetness, depending on your choice of toppings.
For serving, consider slicing the apples into quarters after they have set. This makes them easier for guests to enjoy during parties or gatherings. Alternatively, you can display them as whole apples on a decorative platter; their vibrant color and shiny finish make for an eye-catching centerpiece. If you're looking to store them, keep the coated apples in a cool, dry place to maintain their texture and prevent the candy from becoming sticky.
Ingredients
For the Candy Coating
- 2 cups granulated sugar
- 1 cup corn syrup
- 1 cup water
- 1 teaspoon red food coloring
- 1/4 teaspoon cinnamon (optional)
For the Apples
- 6 medium-sized apples (Granny Smith or your favorite variety)
- 6 wooden sticks or skewers
- Wax paper (for cooling)
Instructions
Instructions
Instructions
Prepare the Apples
Wash the apples thoroughly and dry them. Insert a wooden stick into the top of each apple firmly.
Make the Candy Coating
In a saucepan, combine granulated sugar, corn syrup, and water over medium heat. Stir until the sugar dissolves.
Add Color and Flavor
Bring the mixture to a boil without stirring. Allow it to reach a temperature of 300°F (hard crack stage). Remove from heat and stir in red food coloring and cinnamon, if using.
Dip the Apples
Quickly dip each apple into the hot candy mixture, swirling to coat evenly. Lift and let excess candy drip off.
Cool the Apples
Place the coated apples on wax paper and allow them to cool completely until the candy hardens.
Enjoy!
Pro Tips
- For best results, use apples that are firm and cold. This helps the candy set quickly and adhere better. Be careful with the hot syrup and avoid touching it directly.
Storage Tips
Candy apples are best enjoyed fresh, but if you need to store them, it's vital to keep them in an airtight container. Just make sure to separate each apple with parchment paper to avoid them sticking to each other. They can last up to a week in the fridge, but you might notice the coating becomes slightly less crunchy over time. To maintain that delightful crispiness, consume them within a couple of days.
If you’re making these candy apples for an event, consider preparing the apples the day before, but wait until just before serving to dip them in candy. This way, you’ll ensure that your guests enjoy the freshest flavor and texture possible without compromising on the iconic candy shell.
Dietary Substitutions
If you're looking to reduce sugar content in your candy apples, consider using sugar-free granulated sweeteners that can withstand high heat. Just be cautious, as some sweeteners might not achieve the same hard crack consistency as traditional sugar. You may need to experiment a bit to get the desired results, but it’s definitely worth exploring for a healthier option.
For those seeking a vegan alternative, opt for agave syrup or coconut sugar in place of corn syrup. Keep in mind that you may need to adapt the ratio of liquid to sugar, as different sweeteners can behave differently under heat. This can slightly change the texture but still results in a delicious treat the whole family can enjoy.
Questions About Recipes
→ Can I use other types of apples?
Absolutely! While Granny Smith offers a great tartness, you can experiment with other varieties like Fuji or Honeycrisp.
→ What can I do with leftover candy coating?
You can pour it onto a baking sheet lined with parchment to make candy shards or use it for dipping other fruits.
→ How do I store the candy apples?
Store the candy apples in a cool, dry place. Avoid refrigerating as this can cause the candy to sweat.
→ Can I change the color of the coating?
Yes, you can use different food colorings or leave it clear for a classic look.
Classic Red Candy Apples
What You'll Need
For the Candy Coating
- 2 cups granulated sugar
- 1 cup corn syrup
- 1 cup water
- 1 teaspoon red food coloring
- 1/4 teaspoon cinnamon (optional)
For the Apples
- 6 medium-sized apples (Granny Smith or your favorite variety)
- 6 wooden sticks or skewers
- Wax paper (for cooling)
How-To Steps
Wash the apples thoroughly and dry them. Insert a wooden stick into the top of each apple firmly.
In a saucepan, combine granulated sugar, corn syrup, and water over medium heat. Stir until the sugar dissolves.
Bring the mixture to a boil without stirring. Allow it to reach a temperature of 300°F (hard crack stage). Remove from heat and stir in red food coloring and cinnamon, if using.
Quickly dip each apple into the hot candy mixture, swirling to coat evenly. Lift and let excess candy drip off.
Place the coated apples on wax paper and allow them to cool completely until the candy hardens.
Extra Tips
- For best results, use apples that are firm and cold. This helps the candy set quickly and adhere better. Be careful with the hot syrup and avoid touching it directly.
Nutritional Breakdown (Per Serving)
- Calories: 210 kcal
- Total Fat: 0g
- Saturated Fat: 0g
- Cholesterol: 0mg
- Sodium: 0mg
- Total Carbohydrates: 54g
- Dietary Fiber: 2g
- Sugars: 52g
- Protein: 0g